Thank you for your purchase of B Buckets. We appreciate your ecologically-aligned and pollinator-supportive choices. We wish to offer some more detailed guidance on and recommendations for setting up your bucket system yourself. If you want our help, just reach out!
LOCATION LOCATION LOCATION
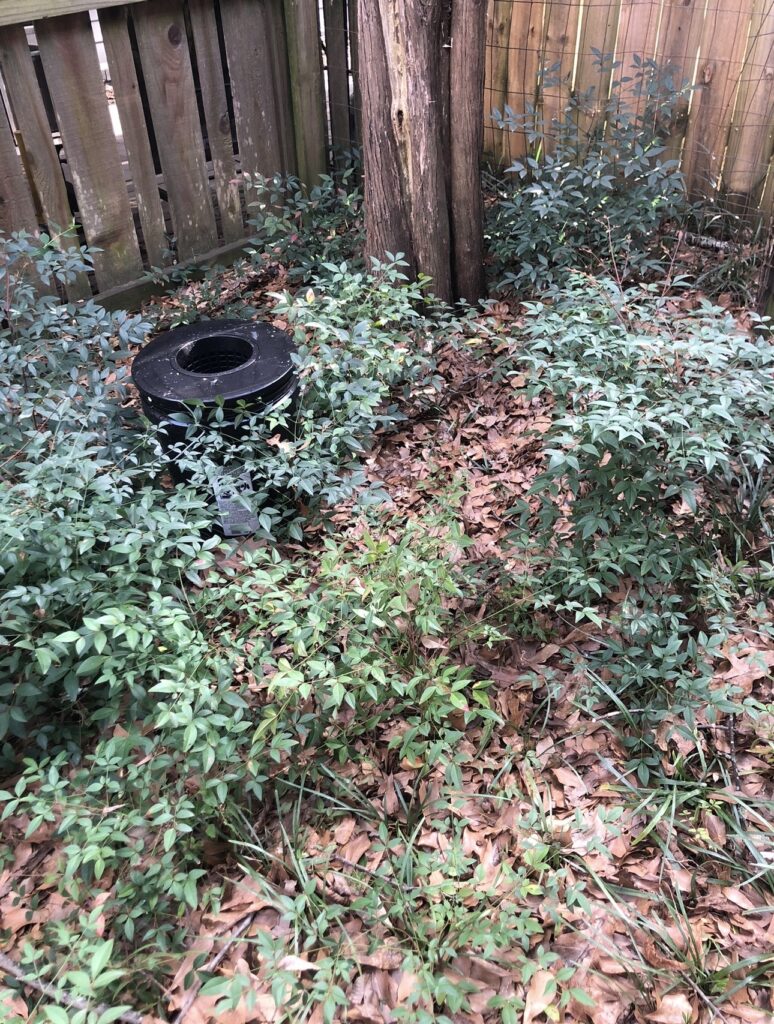
The locations of individual (and collective) buckets are important, and may require some trial-and-error decisions as you become more attentive to the mosquito activity in your yard/on your property. Typically, buckets work best when placed in areas where mosquitoes rest or breed — where they will hang out (shade) or search for water, for instance, under shrubbery, wood piles, downspouts. You also want to consider placing them around the perimeter of your property, especially if there are areas of dense growth in neighboring yards.
You do not want buckets too close to places you frequent: porches, patios, play areas. You are attracting the mosquitoes to the buckets so be sure to put them 6-10 feet away from these locations.
Be open to moving or adding buckets. In the first season of buckets in my yard, I did both.
In short, look for your vegetation and shade and consider your activity zones:
- in shady areas (away from direct sun)
- under/around bushes or woods
- areas of moisture or collecting water (downspouts, rain barrels – though you can also put MosquitoBits® along the ground or in the barrels)

SETUP
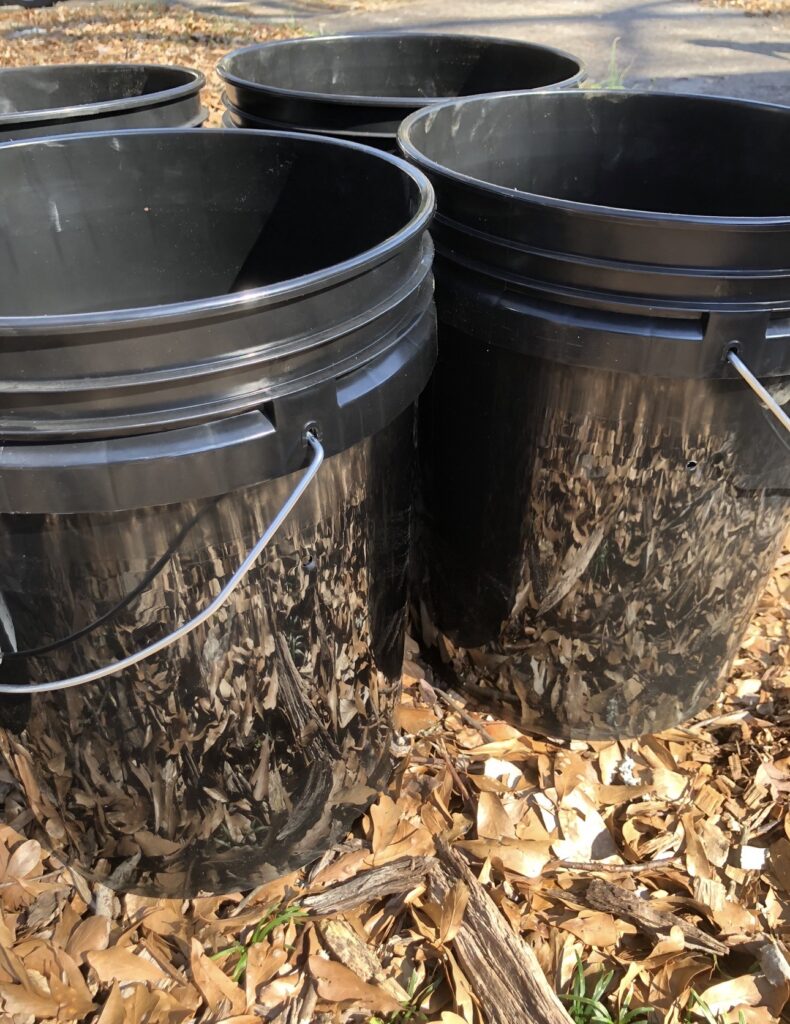
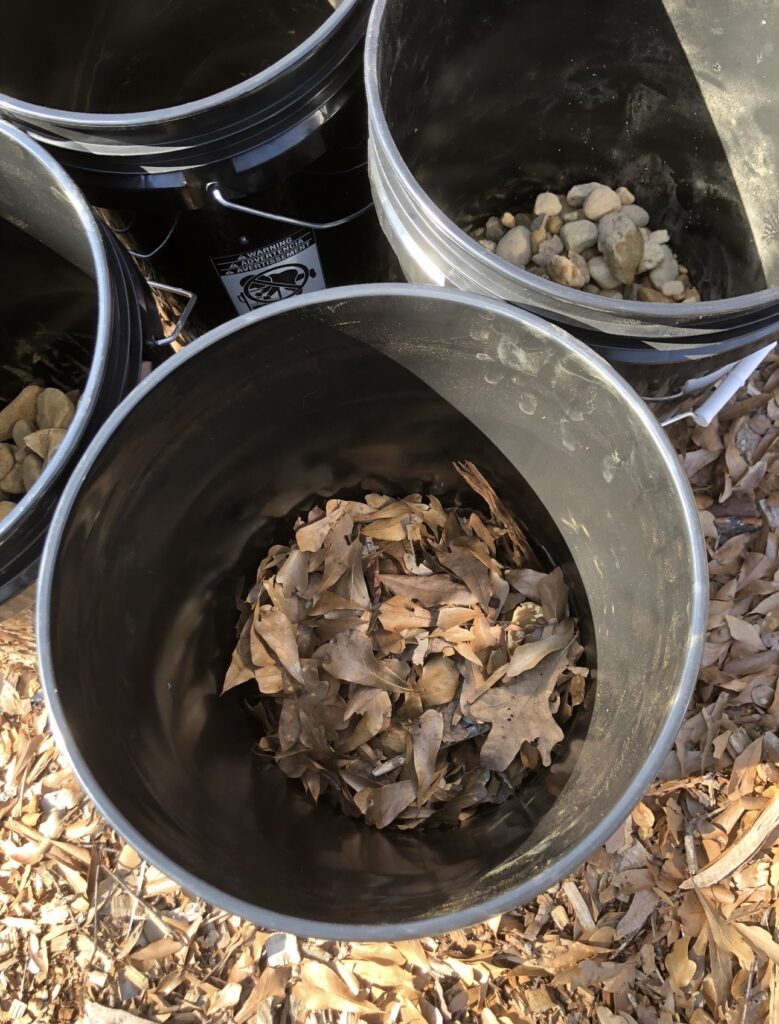
Once you have determined locations, add some organic material from your yard to your buckets: grass clippings, leaves, so-called weeds, anything that will decompose in water. (I recommend staying away from English ivy. magnolia leaves, or other waxy leaves as they don’t decompose well.)
At the beginning of the season (or whenever you put your bucket system out), you will want to encourage the decomposition by leaving the buckets, with some water and the organic material, in the sun for 24-48 hours. Let the open buckets and their contents sit in full sun. After a day or two, add more water (about half full and lower than the overflow holes) and partial Dunks.
Read the instructions for safe handling of your Mosquito Dunks®. Divide Dunks into quarters and distribute them among your buckets. Store leftover chunks in an airtight container (humidity activates them) and always away from children.
Cover the buckets with lids. Add a stick, which can lean against or secure into the mesh, to allow wayward insects and critters to climb out (in yards without curious or young humans), and move the buckets to your chosen locations. Look out for our reminder emails and replenish your Dunks.
MESSAGING
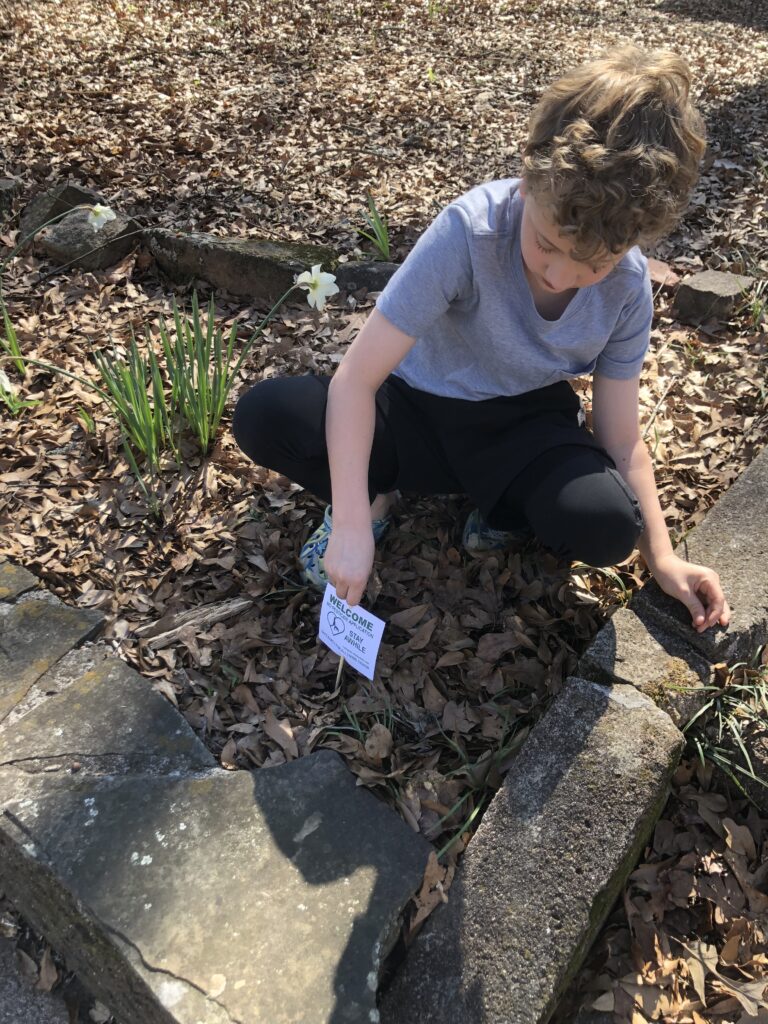
Each order of buckets comes with a paper yard sign, which mimics and counters the CAUTION signs pesticide companies leave on curbs to alert homeowners and passersby to a yard application and the necessity of staying off the area. Our WELCOME signs announce the relative safety of buckets, for us and for all wildlife. Please put them out to help us spread the message. For those willing to install permanent signs, we offer aluminum, weather-proof versions.
MAINTENANCE
The most important maintenance involves replenishing Dunks (you do not need to change the water – but you might need to add some if it gets low) and eliminating standing water from other areas of your yard, especially after rains. Check your trash and recycling bins, birdbaths and planters (remember that you can add Mosquito Bits® to these — faster acting and less persistent than Dunks), downspouts and rain barrels as well as gardening centers/tools and kids’ toys/play areas.
NEXT STEPS
As I continue to set up buckets in spring 2026, I will be adding photographs and videos with more information and details. Please check back soon. And always reach out with questions and concerns.